Applies to:
Reseller Hosting
Difficulty:
Easy
Time Needed:
10 minutes
Introduction
This is a quick step-by-step guide to creating an image slideshow for your website, using Website Builder.
If you have any questions regarding Website Builder, please contact our technical support team.
STEP 1
Login to your account
Firstly, you’ll need to login to your 34SP.com account at https://account.34sp.com.

STEP 2
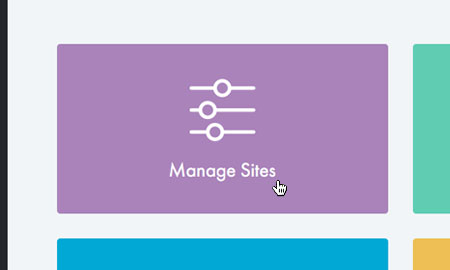
Choose ‘Manage Sites’
Once you have logged in, click on the ‘Manage Sites’ icon. This will bring up a list of websites or domain names you have in your 34SP.com account. Simply choose the website or domain name to wish to edit by clicking on it.
STEP 3
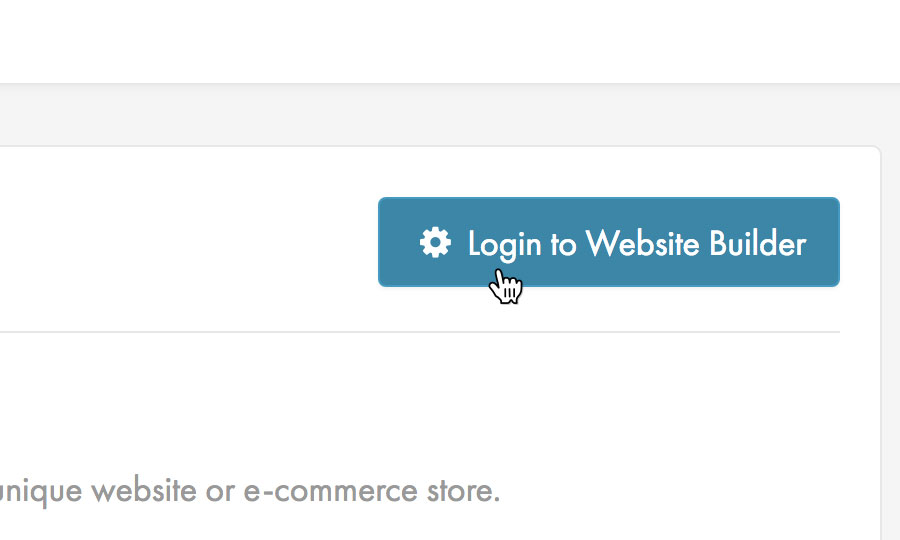
Login to Website Builder
After you have clicked on the website or domain name you wish to edit, simply click on the buttons labelled ‘Login to Website Builder’.
STEP 4
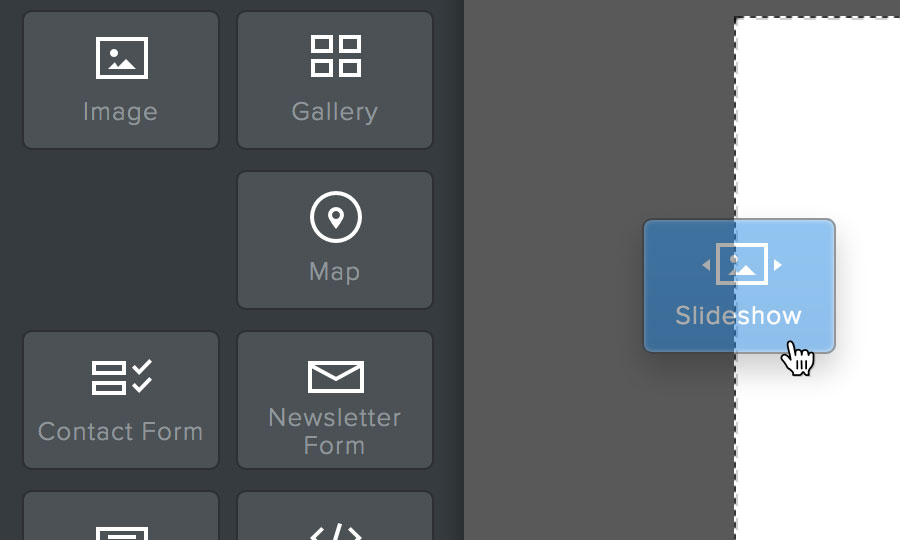
Create an image slideshow
To create a slideshow, locate the ‘Slideshow’ element from the menu on the left-hand side of the screen, and drag it into position on your website.
STEP 5
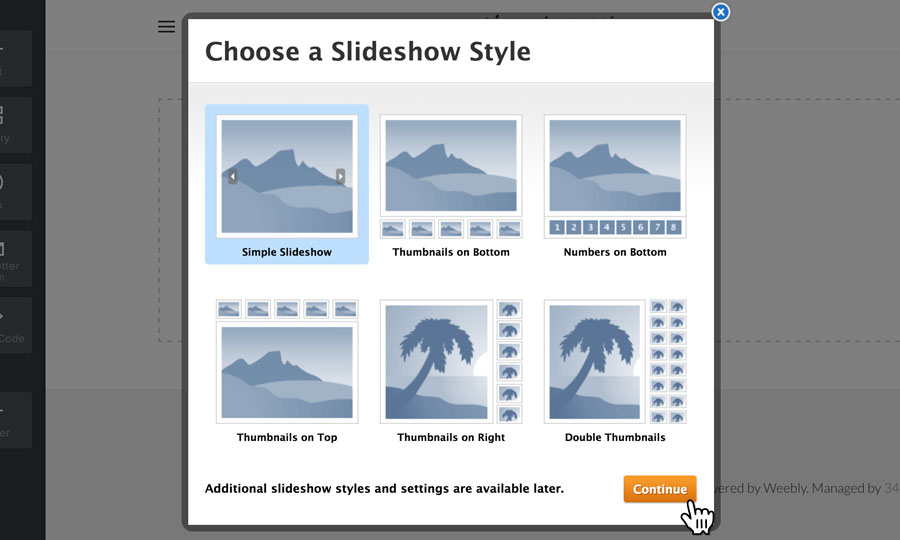
Choose your slideshow style
After dragging your slideshow into position, you’ll be asked to choose your slideshow style. These styles include the option to show thumbnails of your images.
Simply click on the style of slideshow you wish to use, then click on the button labelled ‘Continue’.
STEP 5
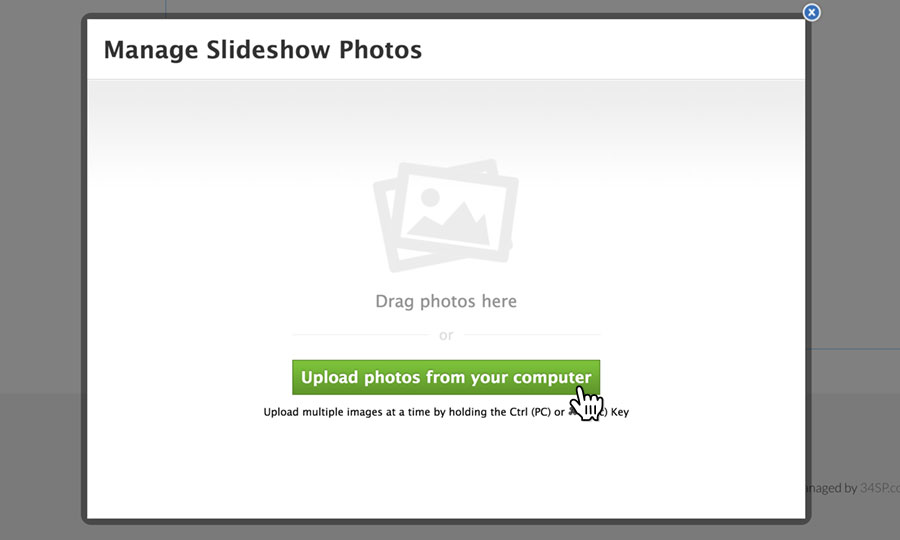
Upload your slideshow images
Then upload the images you wish to use in your slideshow, either by dragging the image files from your file browser onto the upload area or by clicking the button labelled ‘Upload photos from your computer’, to choose the files to wish to upload.
STEP 6
Customise your slideshow images
After your images have uploaded, you can reorder your images by click and dragging them into position. Clicking on each image also gives you options to add links, captions and alt text to each image.
When you have customised your slideshow images, click the button labelled ‘Save’ to add the slideshow to your website.

STEP 7
Customise your slideshow
After adding your images, you can further customise your slideshow by clicking on it. This will produce a menu, giving you options to choose the animation/transition style, the slideshow speed, navigation options, adding captions and choosing aspect rations.

STEP 8
Publishing your site
To publish your changes to your live website, simply click the ‘Publish’ button, located in the top right-hand corner.
