Applies to:
VPS Hosting
Difficulty:
Easy
Time Needed:
5 minutes
Introduction
This is a quick step-by-step walkthrough for updating the hostname and password of your Virtual Private Server (VPS) via the 34SP.com Control Panel.
Updating your VPS hostname & password
STEP 1
Login to your account
Firstly, you’ll need to login to your 34SP.com account at https://account.34sp.com.

STEP 2
Choose ‘Manage Servers’
Once you have logged in, click on the ‘Manage Servers’ icon.
This will bring up a list of servers you have in your 34SP.com account. Simply choose the VPS you wish to manage.

STEP 3
Choose ‘Settings’
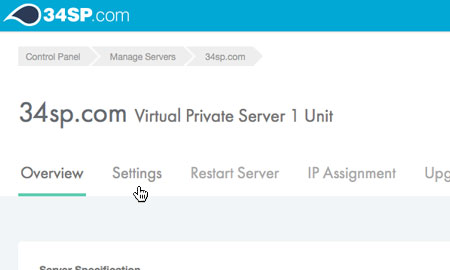
After you have clicked on the server you wish to edit, you will be presented with the ‘VPS Overview’ page. Please click on the tab labelled ‘Settings’.

STEP 4
Edit hostname & password
The ‘Settings’ page is split into 2 forms, ‘Hostname’ & ‘Password’.
If you make any changes to the ‘Hostname’ field, simply click on the button labelled ‘Update Hostname’to save your changes.
Similarly, if you make any changes to the ‘Root Password’ fields, simply click on the button labelled ‘Save Settings’ to update your password.
