Applies to:
Account Management
Billing
Difficulty:
Easy
Time Needed:
5 minutes
Introduction
This is a quick step-by-step walkthrough for changing the billing cycle for a hosting account, via the 34SP.com Control Panel.
You can pay for your 34SP.com hosting accounts on either a monthly or yearly cycle. To avoid uninterrupted services, we recommend setting up recurring billing on all your hosting accounts.
Update your billing cycle
STEP 1
Login to your account
Firstly, you’ll need to login to your 34SP.com account at https://account.34sp.com.

STEP 2
Choose ‘Billing’
Once you have logged in, click on the ‘Billing’ icon.

STEP 3
Choose ‘Upcoming renewals’
When viewing the Billing page, just click on the tab labelled ‘Upcoming renewals’.
The ‘Upcoming renewals’ page lists all the active products you currently have with 34SP.com.

STEP 4
Update the billing cycle
On the ‘Upcoming renewals’ page, find the hosting account which you wish to update.
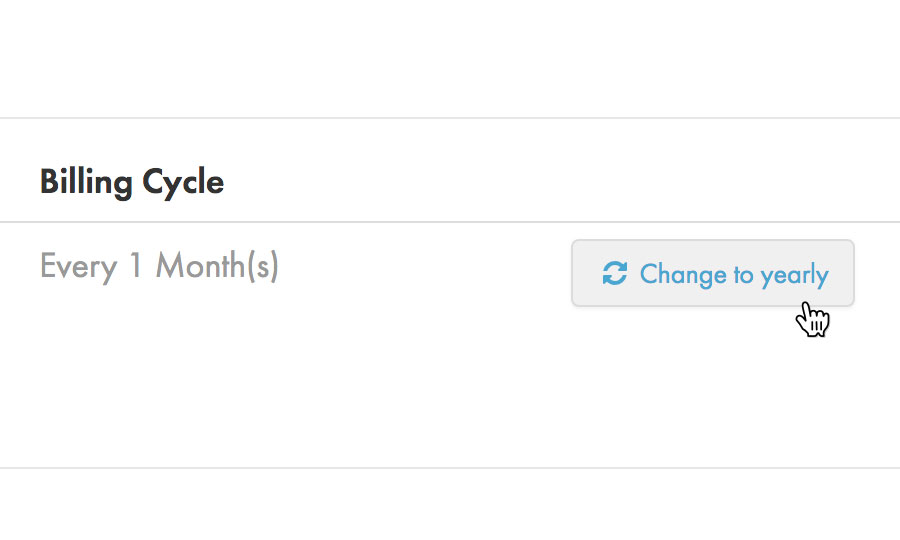
Then simply click on the button labelled ‘Change to Yearly’to update your product to a yearly billing cycle.
If your product is already on yearly billing, simply click the button ‘Change to Monthly’ to update your product to a monthly billing cycle.
If recurring billing is enabled, your next payment will be automatically processed without you having to take any further action. If recurring billing is not enabled, you will be emailed in advance of your next payment is due.
